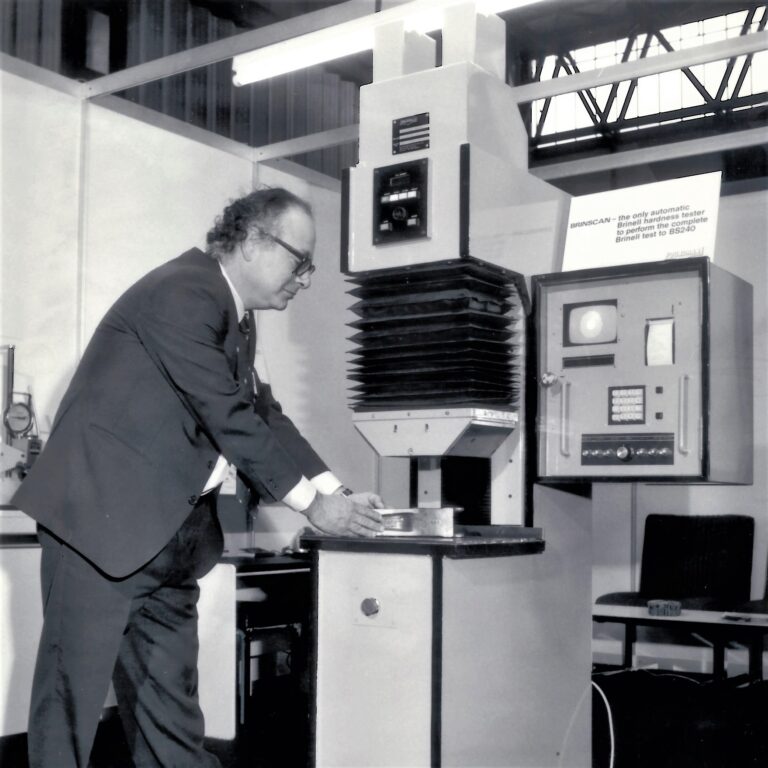
Foundrax MD Alex Austin on the ‘slow revolution’ in Brinell testing that the company pioneered
Foundrax has been in the hardness testing business for over 60 years and when we started the Brinell test was regarded in certain quarters as somewhat ‘rough-and-ready’; a tool for the machinist, certainly, but perhaps not for the professional engineer. The main reason for this was the difficulty of measuring the diameter of indentations accurately with a microscope and ambient light. Where, exactly, does the profile of the indentation created by the sphere end and the ‘pile up’ of metal that’s been forced to the rim of the indentation begin? And, if you can see that on the hardest metals, it doesn’t necessarily mean you’ll be able to see it on soft ones. Sometimes you think you can see it but what you’re actually seeing isn’t the edge of the indentation at all. As anyone familiar with this subject knows, the metals behave differently, they look different and light appears to reflect off their surfaces differently, so the angle at which light falls onto the materials’ surfaces can change the apparent position of the edge of an indentation. Operator-dependent measurement is thus fraught with difficulties and, to complicate matters further, the workshop technician then has to take the diameter figure and read the hardness rating from a conversion table.
Things started to improve about 42 years ago when Foundrax’s then MD, Charles Austin, began a collaboration with Birmingham University. We developed a microscope, partnered by a dedicated computer, which could judge the edge points accurately and consistently and read the diameter in hundreds of positions within a split second. One of the earliest versions of this equipment is shown in the top photo – vintage tech! – and the first exhibition model, dating from c.1981 and here being operated by Charles, can be seen below.
In 1982 we launched the first automatic Brinell hardness tester onto the market – the ‘BRINscan’® – and it self-checked and adjusted too. It came with an integral computer and a screen that displayed the calculated hardness value boldly, to make life as easy as possible for operators in steelworks conditions. One of the advertisements for this is shown below.
Looking back, I’m surprised how long it took to get market traction – technicians like their tried-and-tested methods, certainly, but this was a game changer. In fact, in 1990, Gill Wood, the National Physical Laboratory’s expert on hardness testing, told us that we had single-handedly transformed the perception of the test from problematic to highly reliable. Nonetheless, in 2000 the machines were still not common and I think we have a major oil and gas customer to thank for spreading the word: Back in 2002 its quality manager saw the improvement our equipment offered and proactively demonstrated it to companies in his supply chain, imploring them to utilise it.
In the late 1990s we launched a portable device – the BRINtronic® – which utilised the same technology but in a ruggedised case with a hand-held scope. This device, along with our heavy-duty machines, remains in a state of continuous development and, at the time of writing, we’re trialling a new model.
An important consequence of this improvement in measurement accuracy was that manufacturing industry was able to tighten its acceptance criteria and reduce measurement uncertainty which, in turn, drove improved measurement practice and the replacement of equipment and, ultimately, brought us to where we are today with the Brinell test acknowledged as an exceptionally reliable way of getting good-quality hardness results in harsh industrial shop-floor environments.


